Proper installation improves dust removal efficiency significantly. It also extends equipment service life and reduces maintenance costs.
Pre-Installation Preparation
Equipment Inspection
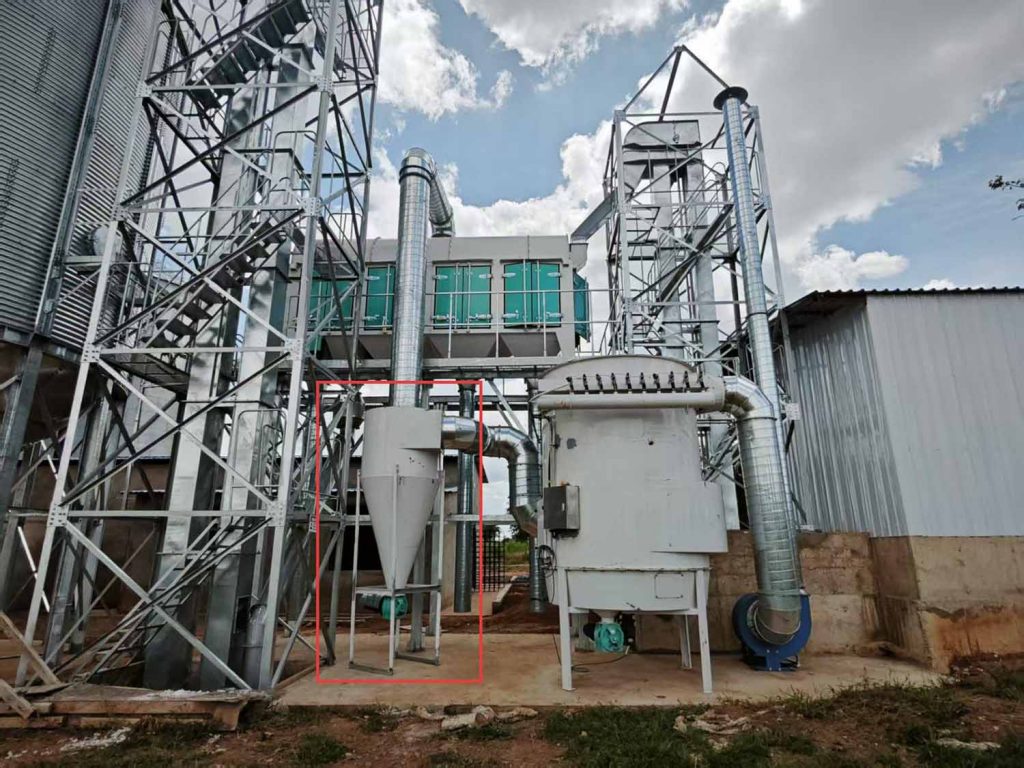
Check all equipment components for completeness. These include the cylinder, cone, inlet pipe, outlet pipe, and dust hopper. Ensure all connection points are tight and well sealed. No leaks should exist. Also inspect the equipment's exterior for damage or deformation. Repair or replace damaged parts immediately.
Site Preparation
Selecting a suitable site is crucial for efficient operation. The installation site should be flat and solid. It must support the equipment's weight fully. The site also needs enough space for installation and maintenance. Ensure sufficient ventilation around the equipment. This prevents overheating during operation.
Installation Steps
Foundation Installation
Foundation Construction: Build a proper foundation according to equipment size and weight. Use concrete for pouring. Ensure foundation flatness and strength. Leave installation holes on the surface for equipment fixing.
Equipment Fixing: Place the dust collector on the foundation. Secure it with anchor bolts through the surface. Check equipment verticality and levelness carefully. Use a level instrument for calibration.
Pipeline Connection
Inlet Pipeline Connection: Connect the inlet pipe to the collector's intake port. Ensure tight and leak-free connections. Also check pipe supports and fixtures. Maintain pipeline stability to prevent vibration damage.
Outlet Pipeline Connection: Connect the outlet pipe to the collector's exhaust port. Ensure tight and leak-free connections here too.
Electrical Connection
Power Connection: Connect power cables per electrical requirements. Ensure tight cable connections and good electrical contact. No looseness should occur.Control System Connection: Connect the collector's control system to power. Ensure firm connections and good electrical contact. No looseness should exist here either.
Choosing the right supplier is crucial for equipment quality, performance,…
Choosing the right cyclone dust collector reduces dust concentration effectively.…

 WeChat:+8613598071775